
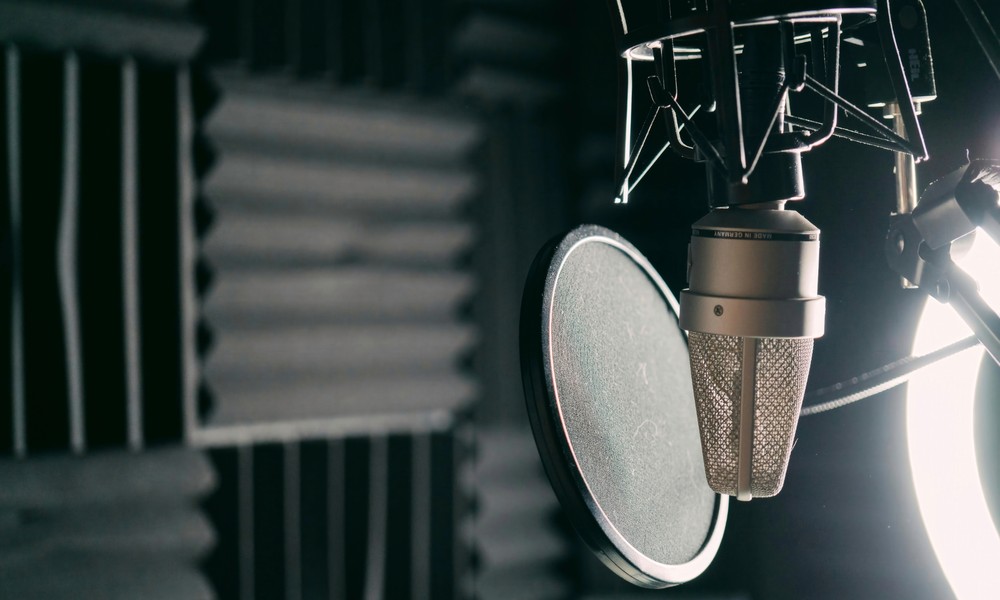
You can have an incredible performer, a great instrument, and a solid interface-then lose the magic because the microphone is simply in the wrong place. Mic placement is one of the highest-leverage skills in recording: small movements (sometimes an inch or two) can change the entire tone, the amount of room you capture, and how much work you’ll have to do later in editing and mixing.
The goal isn’t “perfect” placement. The goal is repeatable, intentional placement that fits the sound you want. Below are nine common mic placement mistakes that can ruin great takes-and practical fixes you can apply immediately.
1) Miking too close without understanding proximity effect
The mistake: You put the mic extremely close to the source to get “more detail,” but the recording ends up boomy, muddy, and overly bass-heavy-especially with directional mics (cardioid, supercardioid).
The fix: Back the mic off and rebalance. Try:
- Vocals: start around 6-10 inches and adjust
- Acoustic guitar: 8-16 inches (depending on room and style)
- Amp: 1-6 inches, but test for low-end buildup
If you need the intimacy of close miking, use a high-pass filter (on the preamp or in the DAW) and aim slightly off-axis to tame boom.
2) Pointing the mic directly at the harshest part of the source
The mistake: Direct-on placement can capture the brightest, sharpest frequencies-like the center of a guitar speaker cone or straight at a vocalist’s mouth-making the take sound brittle or piercing.
The fix: Use off-axis technique:
- Guitar amp: move the mic toward the edge of the cone, or angle it 20-45 degrees
- Vocals: aim slightly below the mouth or tilt the mic so breath isn’t firing directly into the capsule
- Brass/woodwinds: avoid pointing directly into the bell; aim a bit to the side
Off-axis placement often sounds “mixed” before you even touch EQ.
3) Ignoring the room (and accidentally recording the room too much)
The mistake: The mic is placed where the room reflections are loud-near bare walls, corners, or reflective surfaces-so your recording sounds boxy, distant, or phasey.
The fix: Control reflections before moving gear. Quick moves:
- Put the performer away from corners and walls
- Use a rug under the mic/performer (especially on hard floors)
- Hang a blanket or use absorption behind the mic and behind the performer
Then place the mic closer and reduce the room capture until it becomes a choice, not an accident.
4) Placing the mic where plosives and breath destroy the take
The mistake: Plosives (“P,” “B”) cause low-end thumps, and breath blasts overload the capsule-especially on close vocals.
The fix: Use a pop filter and reposition:
- Raise the mic slightly above mouth level and angle down
- Increase distance by a few inches
- Have the singer aim their breath slightly past the mic, not into it
This often fixes 80% of vocal cleanup issues before they happen.
5) Miking acoustic guitar at the sound hole
The mistake: Pointing a mic directly at the sound hole often produces a boomy, woofy tone that doesn’t sit in a mix.
The fix: Start around the 12th fret:
- Place the mic 8-12 inches away
- Aim between the 12th fret and where the neck meets the body
- Adjust toward the bridge for more body, toward the neck for more brightness
This gives you clarity without the low-end “whoof.”
6) Putting drum mics too close without listening to cymbal bleed
The mistake: You get “attack” by going close, but your snare mic becomes mostly hi-hat, or your tom mics become cymbal mics.
The fix: Use angle and rejection:
- Aim the snare mic away from the hi-hat and use the mic’s null point
- Raise tom mics slightly and angle them to minimize cymbals
- Make overhead placement intentional (they’re the kit picture, not an afterthought)
Always solo the mic and also listen in the full kit. Bleed can be musical-harsh bleed is the problem.
7) Not checking phase when using multiple mics
The mistake: You add a second mic (stereo acoustic, top/bottom snare, two mics on an amp), and suddenly the sound gets thin, hollow, or weird.
The fix: Check phase immediately:
- Flip polarity on one mic and compare
- Nudge distance/placement so waveforms align better
- Follow the 3:1 rule (if Mic A is 1 foot away, Mic B should be ~3 feet away from Mic A to reduce phase issues)
Phase problems are often a placement problem-not a plugin problem.
8) Treating “center of the speaker” as the default for amps
The mistake: You put the mic dead center on the speaker because you saw it online, but it’s too bright, fizzy, or aggressive.
The fix: Use the “cone sweep” method:
- Put the mic 1-2 inches from the grille
- Record 10 seconds and move the mic from center → edge
- Label takes and choose the tone that fits the track
You’ll learn faster in one session doing this than in weeks of guessing.
9) Setting and forgetting-never moving the mic once the session starts
The mistake: You spend five minutes placing the mic, then record for hours even though the tone isn’t right-because you assume “we’ll fix it in the mix.”
The fix: Build a placement routine:
This is exactly how engineers get “pro” results quickly-by treating placement as part of the performance, not an afterthought. If you’re serious about learning this systematically, an online studio recording program can speed things up by giving you structured exercises that train your ear and your habits.
Mic placement isn’t about rules-it’s about cause and effect. Once you understand how distance, angle, room reflections, and phase interact, you stop “hoping” for good takes and start capturing them on purpose. And when your raw recordings already sound right, mixing becomes faster, simpler, and way more fun.